Course & Workshop
Our well-equipped School Workshops provide the perfect environment to learn and practise harp-making skills with the ideal facilities, work benches, tools, machines and equipment.

We have set up fully-equipped workshops in the Old School to give students the ideal workspace to learn, practise and perfect harp-making skills in a comfortable & inspiring environment.
With access to modern machines & equipment, in addition to an extensive range of traditional and specialist hand tools, students learn to become versatile craftspeople with a wide range of useful skills both traditional & modern.
Register Your Interest as a Student
To express interest and request a Full Prospectus for our Harp Making Course, please contact Mark at info@harps.scot

Curriculum
-
Focuses on some of the 'why' before the 'how to'
Design Theory: The principles of good harp design & construction.
String Theory: The effects of string angles, string lengths, string gauges and string tension on harp design.
Material Science: Understanding the ideal materials and harp timbers + seasoning, storage & shrinkage of timber.
Acoustics: Understanding the harp's acoustics and tone woods for harp soundboards.
Harp Structure: The structural principles of timber shapes, joints and laminations for strength, stability & longevity.
-
Focuses on workspace ergonomics, workbenches, working surfaces, working light, dust control & safety.
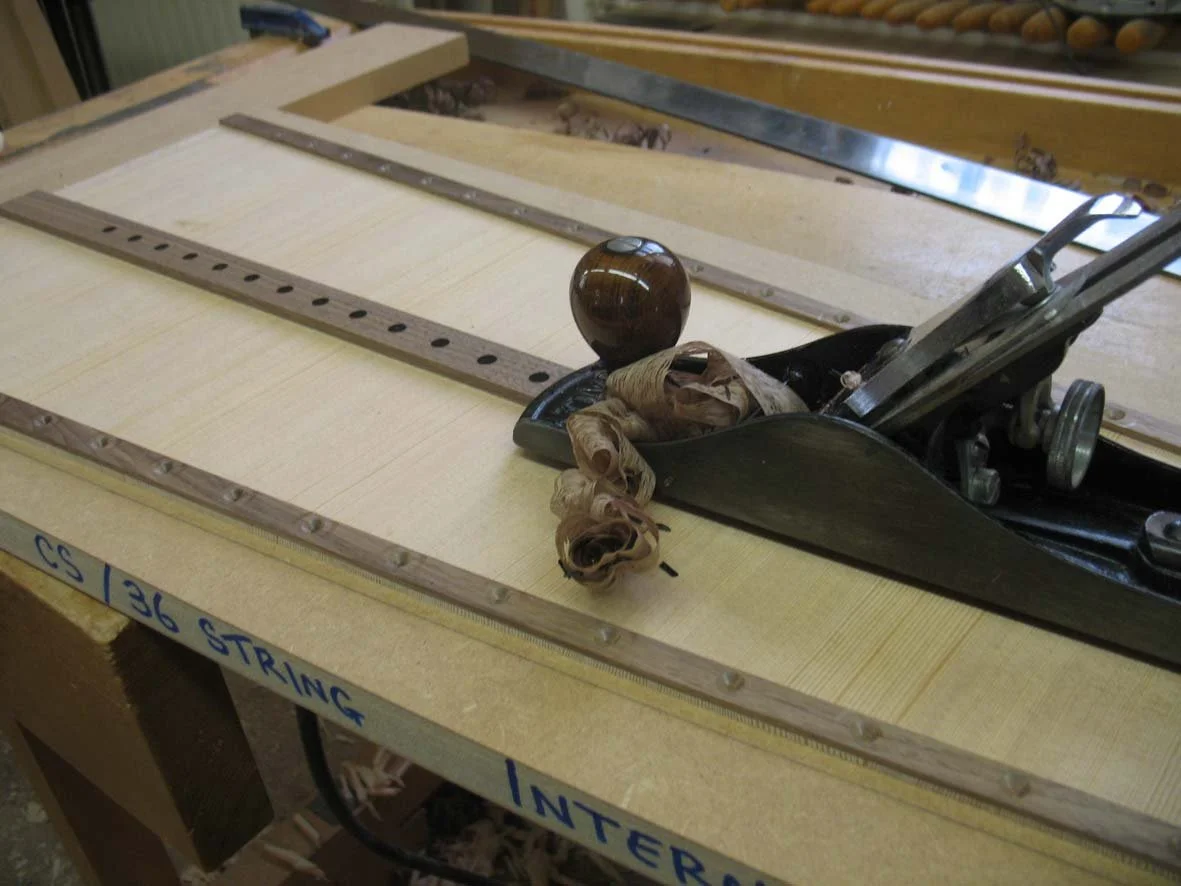
The Workbench: Making full use of the traditional Cabinetmaker's Bench along with its Front & End Vice and Bench Dogs
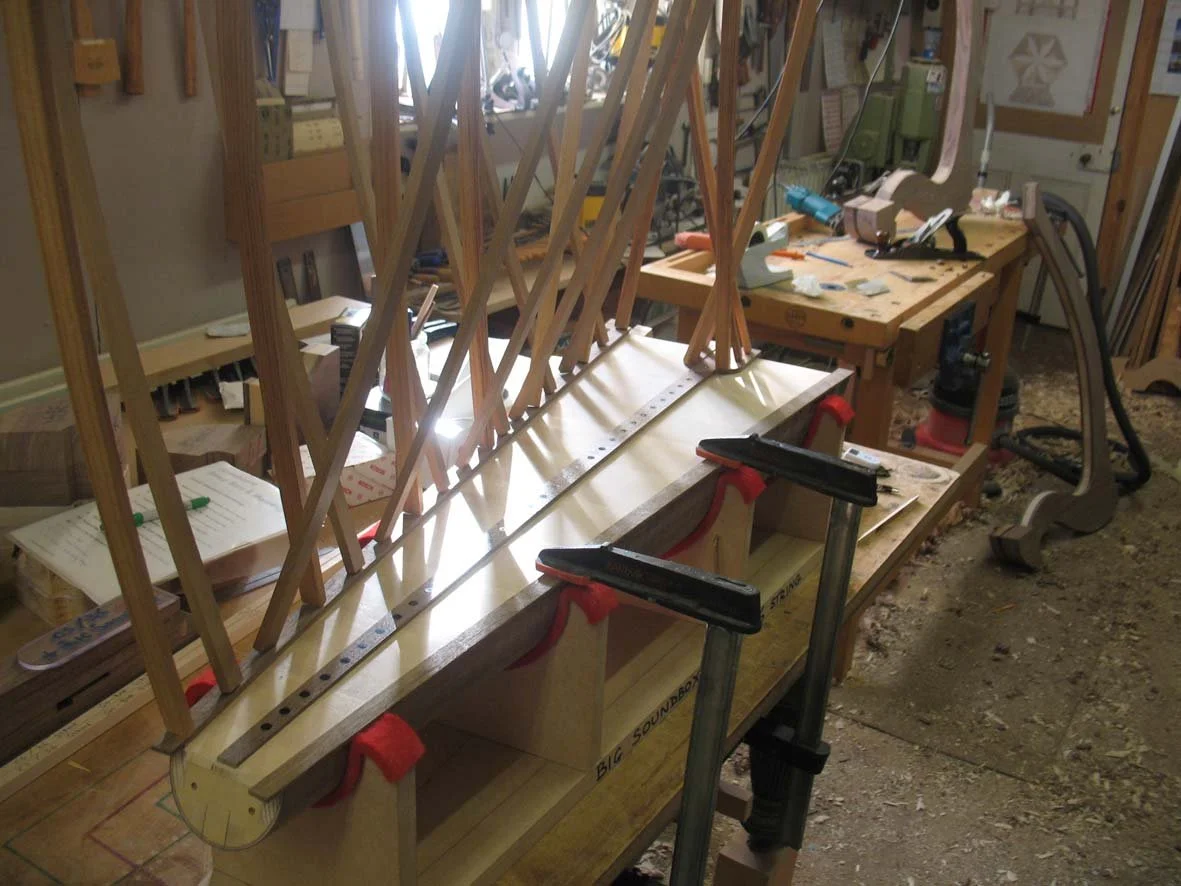
Working Surfaces: Using movable working tables and fixed worktops for Laying Out, Clamping & Go-Bars.
Dust Control: Machine & Workshop Dust Extraction and individual Router & Sander Dust Control.
Dehumidified Timber Store: Creating & maintaining perfectly stable dry timber.
Personal Safety: Using Air Fed Visors, Air Fed Masks, appropriate Gloves and Eye/Ear/Hair protection.
-
Focuses on the safe, accurate and efficient use of workshop machinery
Planing & Thicknessing Machines: Safe & accurate use of the surface Planer & Thicknesser.
Circular Saws: Accurate dimensioning of timber with appropriate blade choices and safe working with Circular Saws.
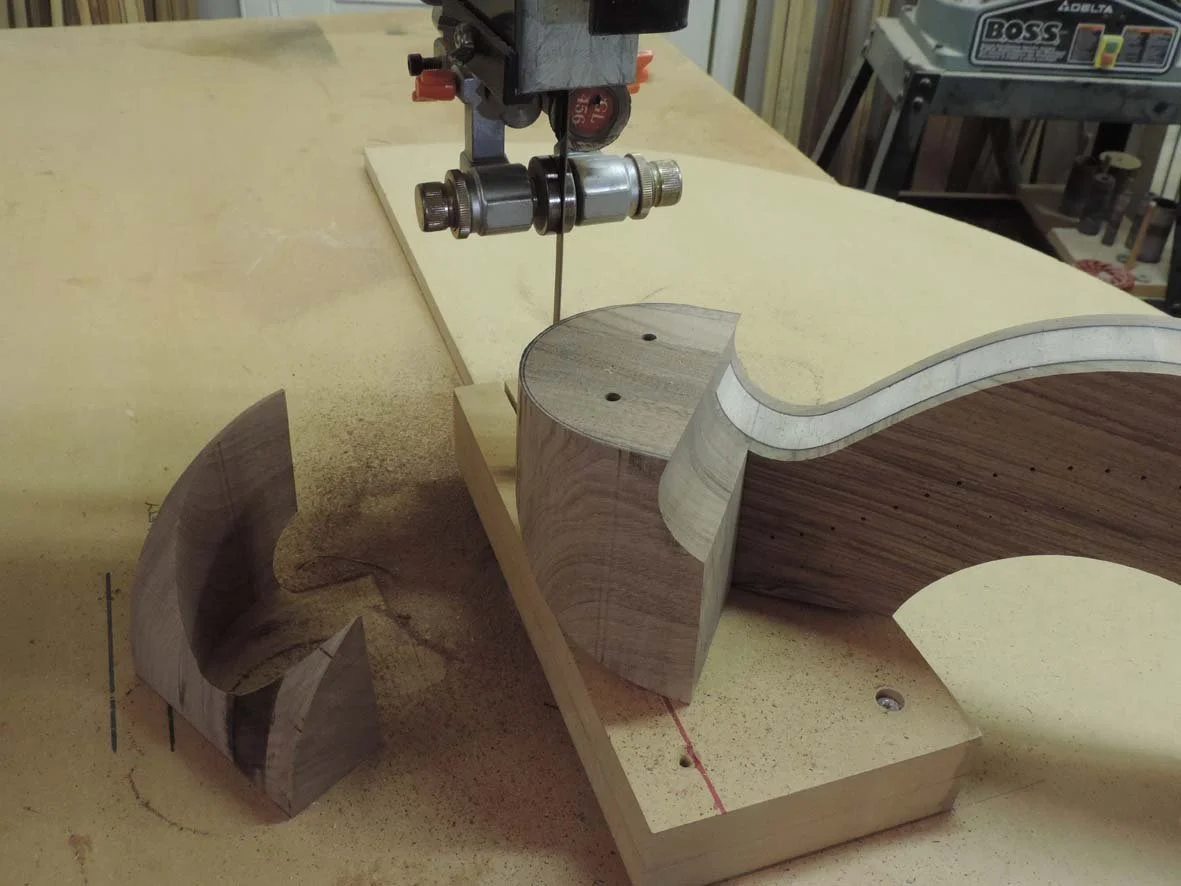
Bandsaws: Straight and curved profile timber & metal cutting on the Bandsaw.
Sanding Machines: Using Oscillating Drum Sanders, Osillating Bobbin Sanders and Disc Sanders.
Drilling Machines: Using Pillar Drills for accurate hole drilling, countersinking, and tapered hole reaming.
Engineering Lathe: Creating precision engineered components in brass & stainless steel on the Myford Engineering Lathe
CNC Milling & Drilling Machine: Creating batches of precision engineered components on the computer milling & drilling machine.
Polishing Machines: De-Burring and Polishing brass, stainless steel & titanium components in Tumble Polishers & Vibratory Polishers.
-
Focuses on mastering traditional hand tools.
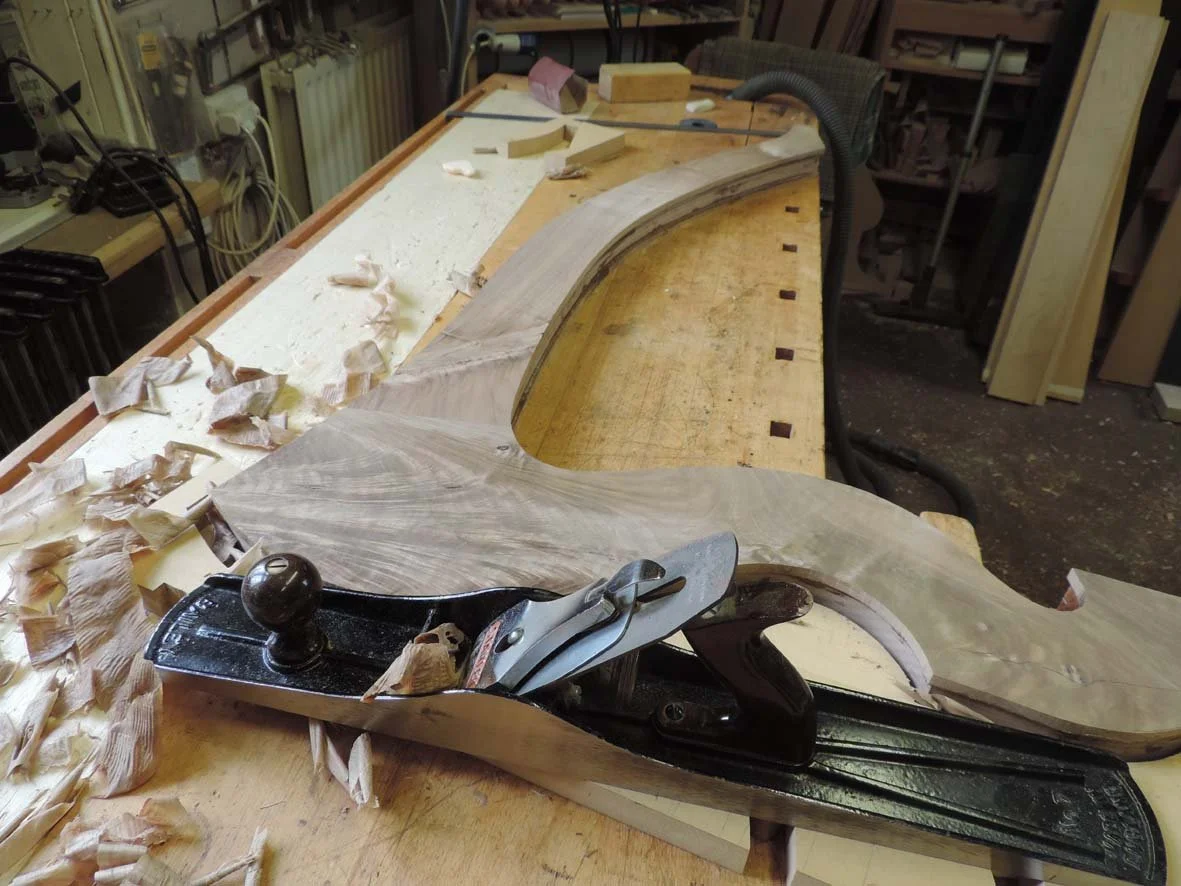
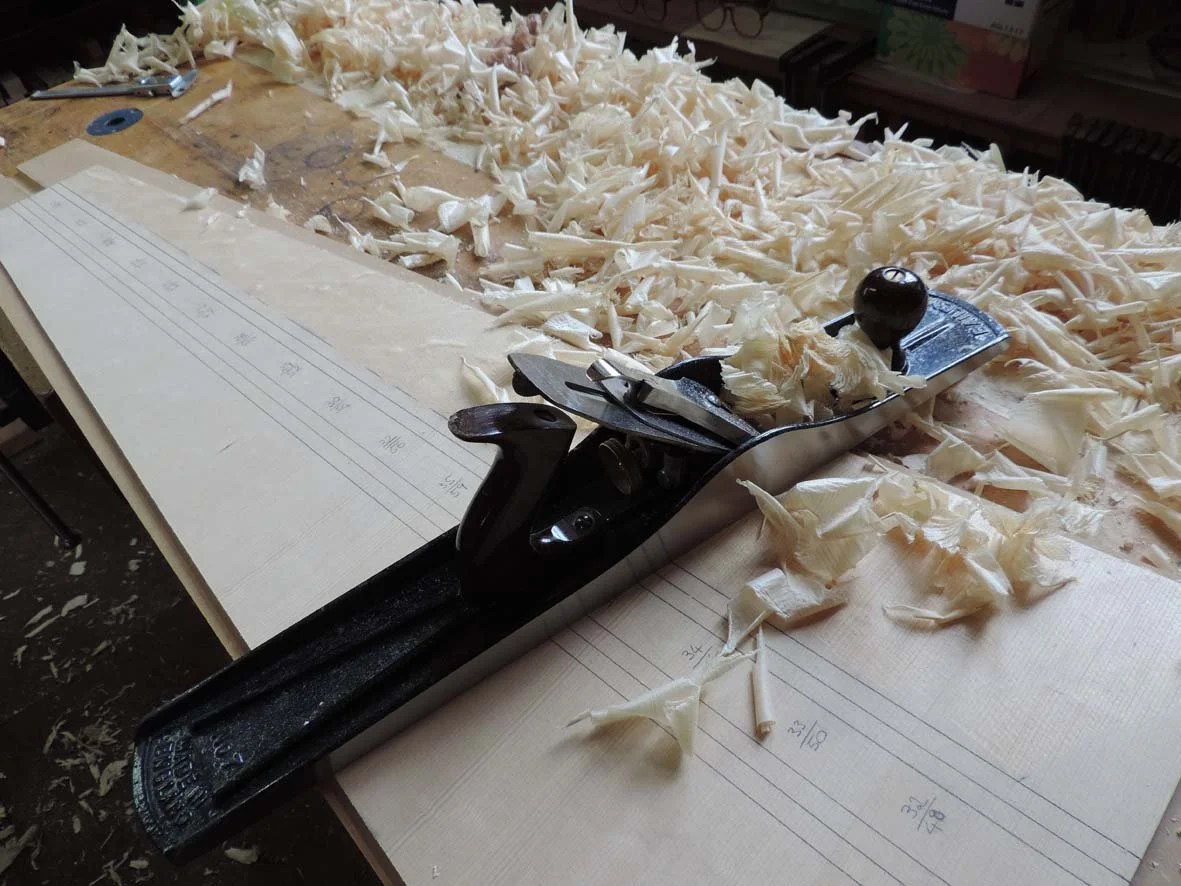
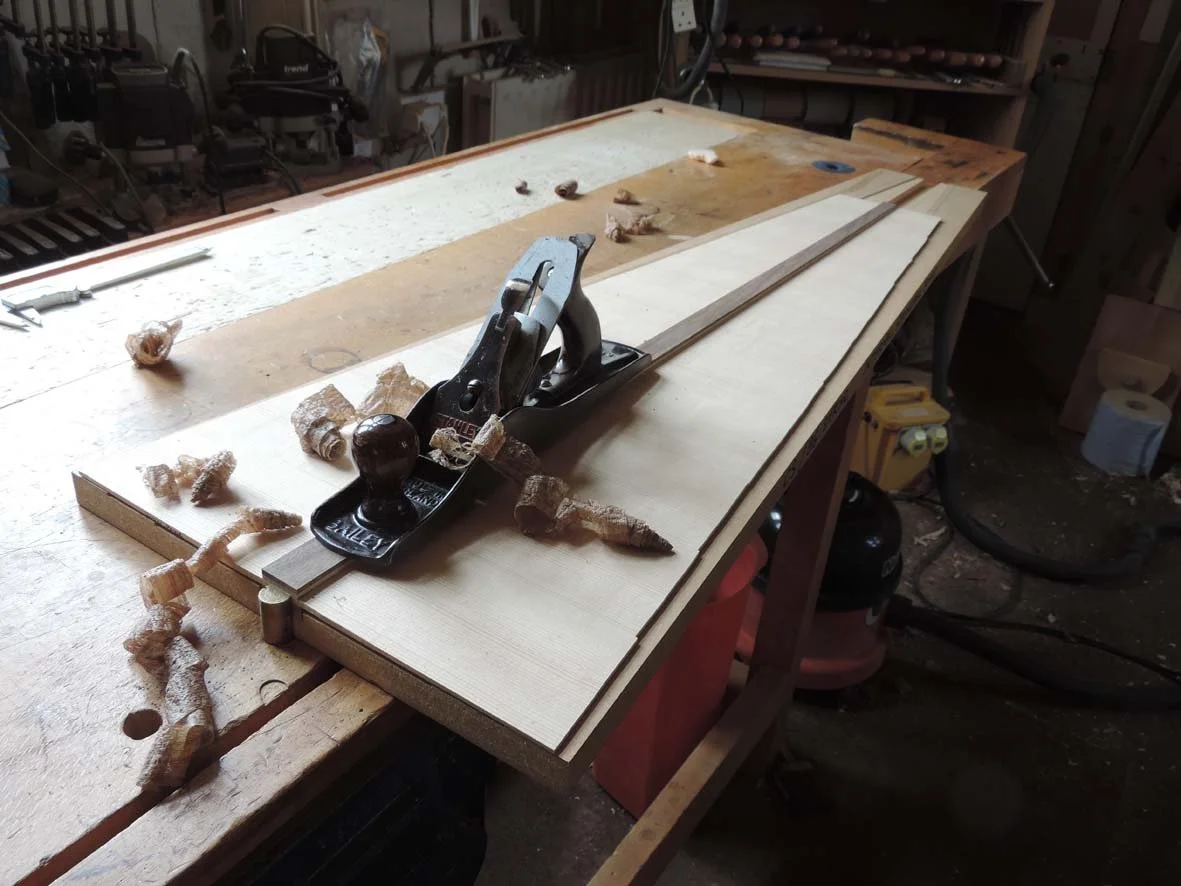
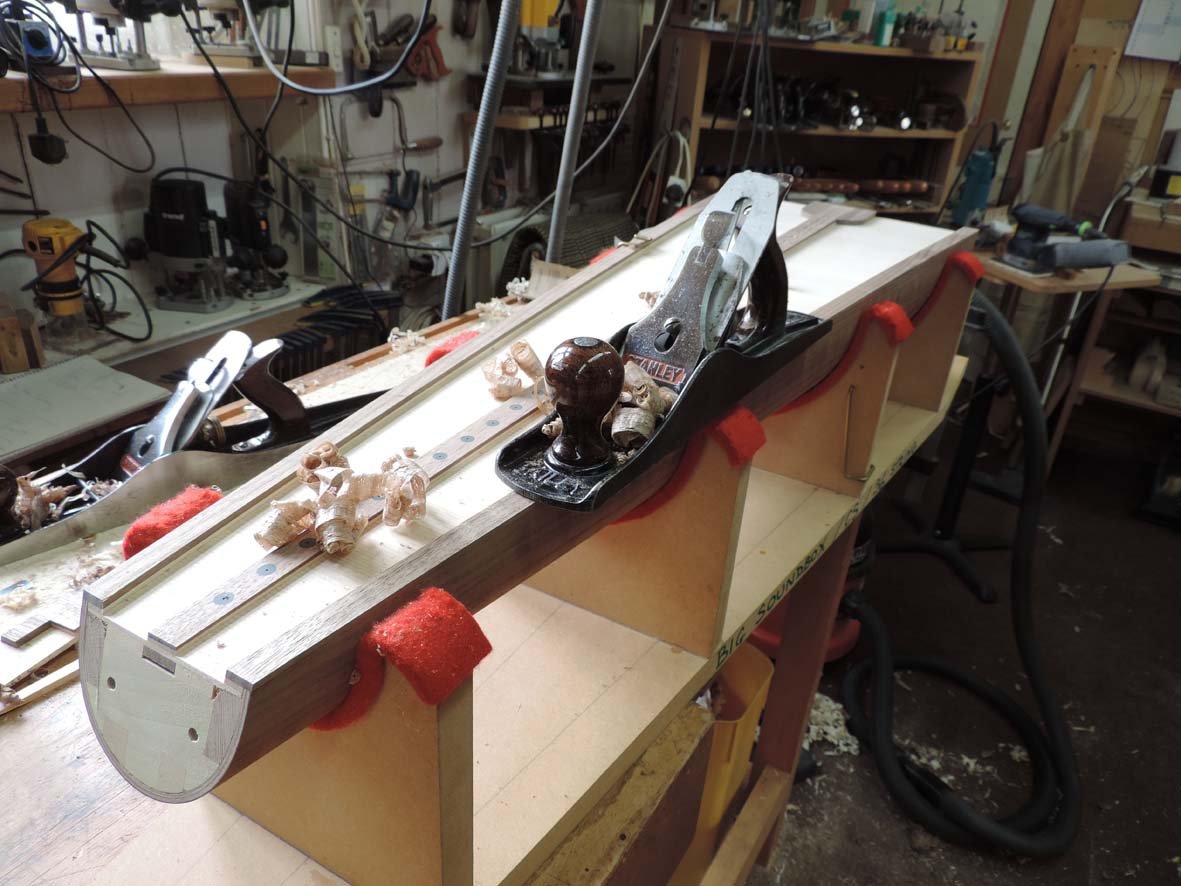
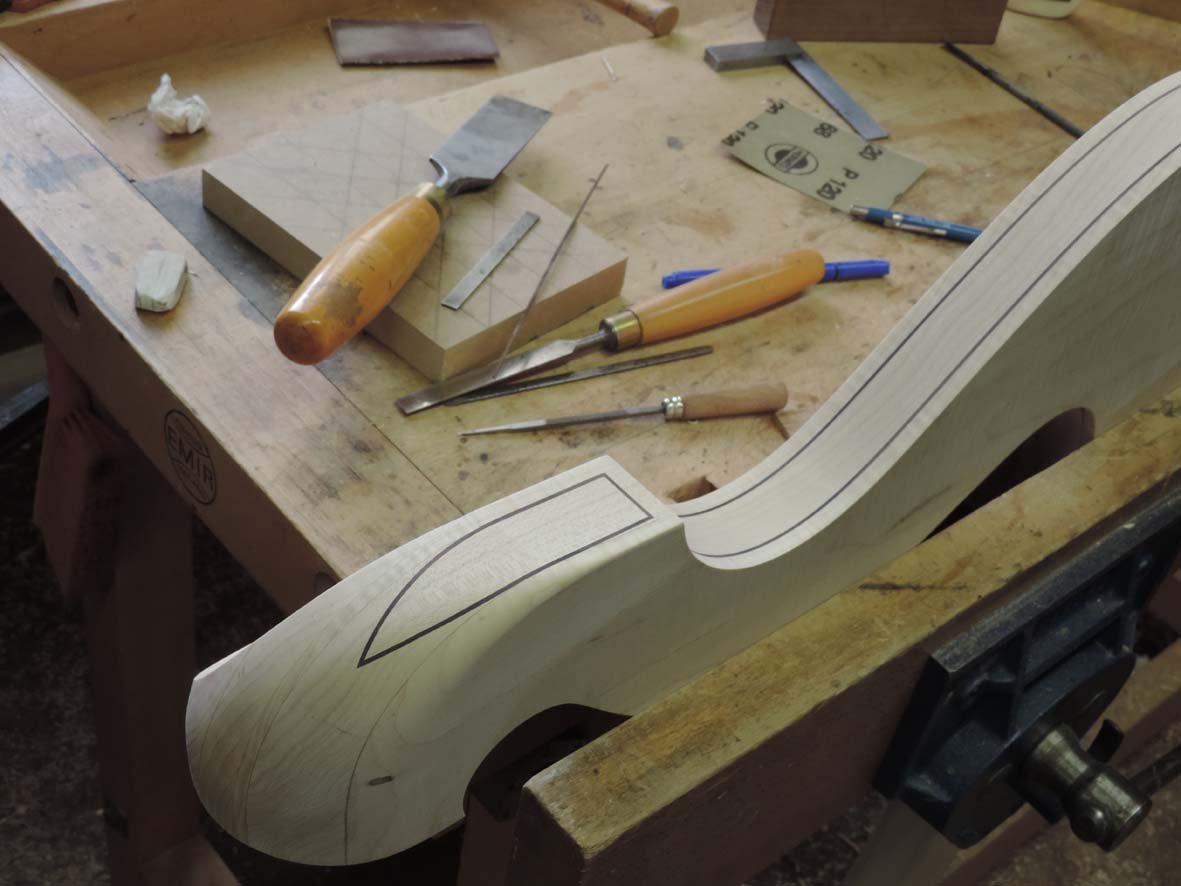
Traditional Hand Planes: Learning and perfecting the use of Shooting Panes, Jack Planes, Block Planes and Shoulder Planes.
Traditional Chisels: Learning the selection and use of traditional bevel-edge chisels.
Cabinet Scrapers: The efficient use of traditional Cabinet Scrapers.
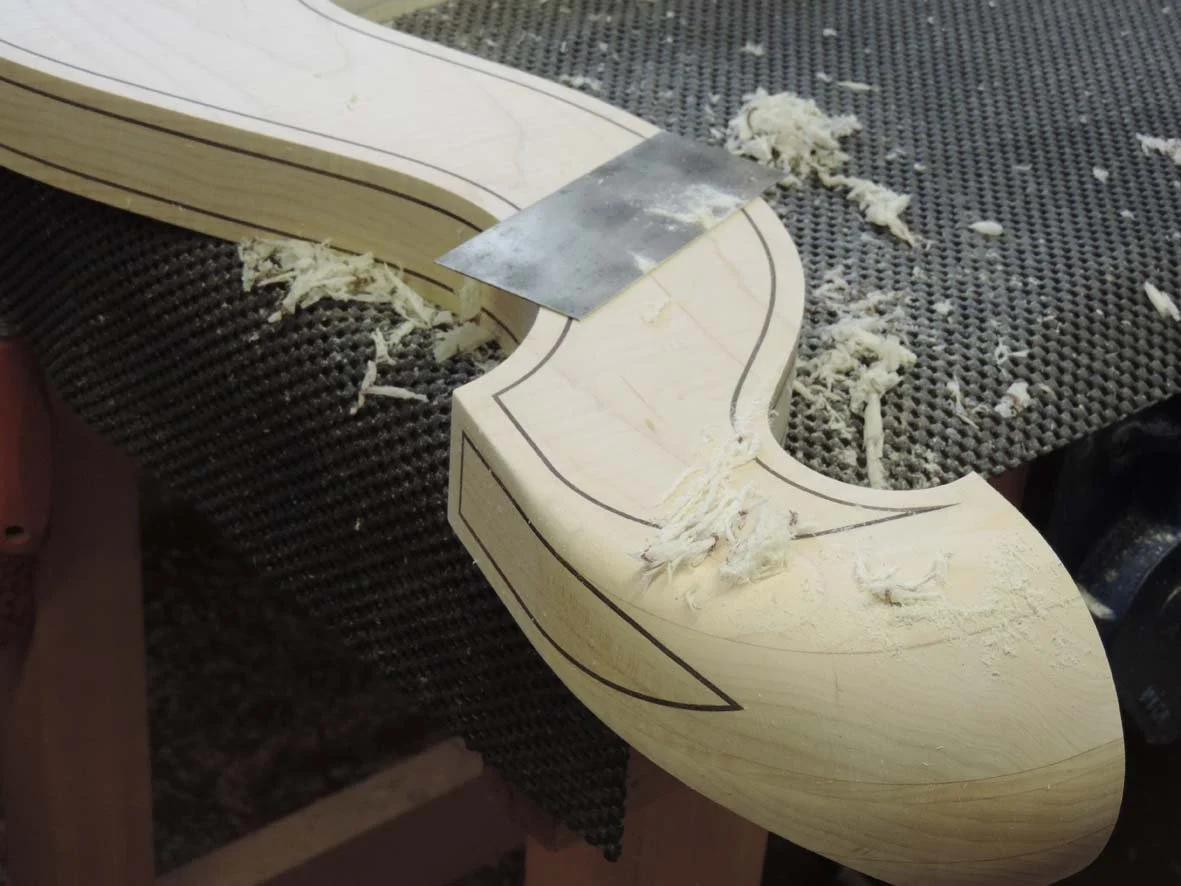
Spoke Shaves: Shaping curved surfaces and harp shoulders with traditional Spoke Shaves.
Knives: Using Traditional Right & Left-Hand Marking & Cutting Knives and disposable blade knives.
Hand Saws: Using hand saws and Japanese Pull Saws.
Sharpening: Use of Water-Cooled Grinding machines and Diamond Sharpening Stones to sharpen Plane Irons & Chisels & Knives
-
Focuses on the use of hand-held electric & cordless routers, sanders, drills and saws
Routers: Covering the many & varied uses of Routers; perhaps the single most versatile & important woodworking tool.
Orbital Sanders: Selecting the ideal Orbital Sanders and Abrasive Papers to produce the best finish.
Cordless Drills: Using Cordless Drills for a great variety of tasks from marking out from templates to fitting Semitone Levers.
Cordless Jigsaws: Making the first cuts in large boards of timber which may be too large or heavy to lift on to a machine.
Cordless Circular Saw: Cutting large 8ft x 4ft sheet material, MDF & plywood.
-
Focuses on constructing, laminating, gluing & clamping
Clamping: Using F-Clamps, Sash-Clamps, and traditional Go-Bars to assemble & glue harp components
Glues & Adhesives: Understanding, choosing & mixing the ideal Glues, Adhesives and Epoxy Resins for each element of a harp
Gluing Jigs & Blocks: Using Gluing Jigs, Blocks, Profile Covers and non-stick HDPE Covers.
Flat Laminating: Creating, gluing & clamping straight/flat laminations for harp string bars, shoulders and frames.
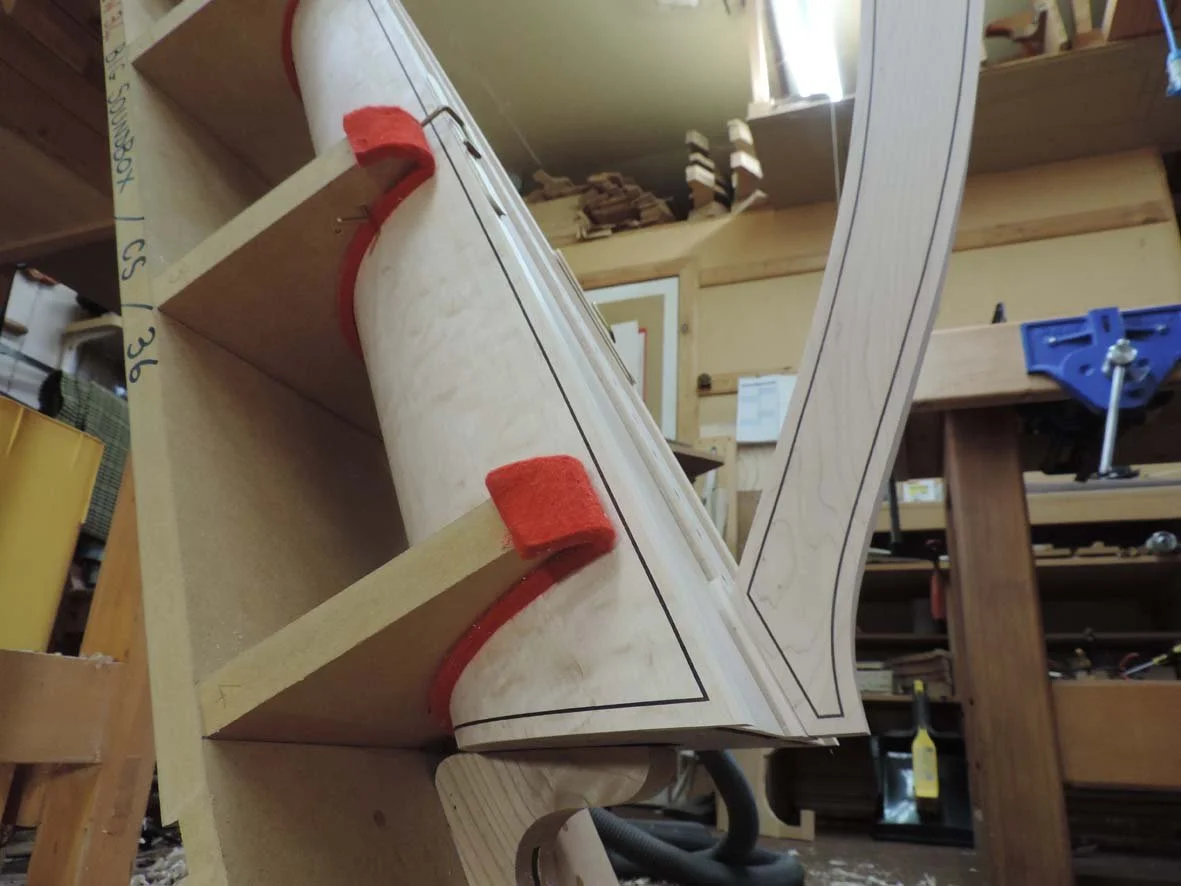
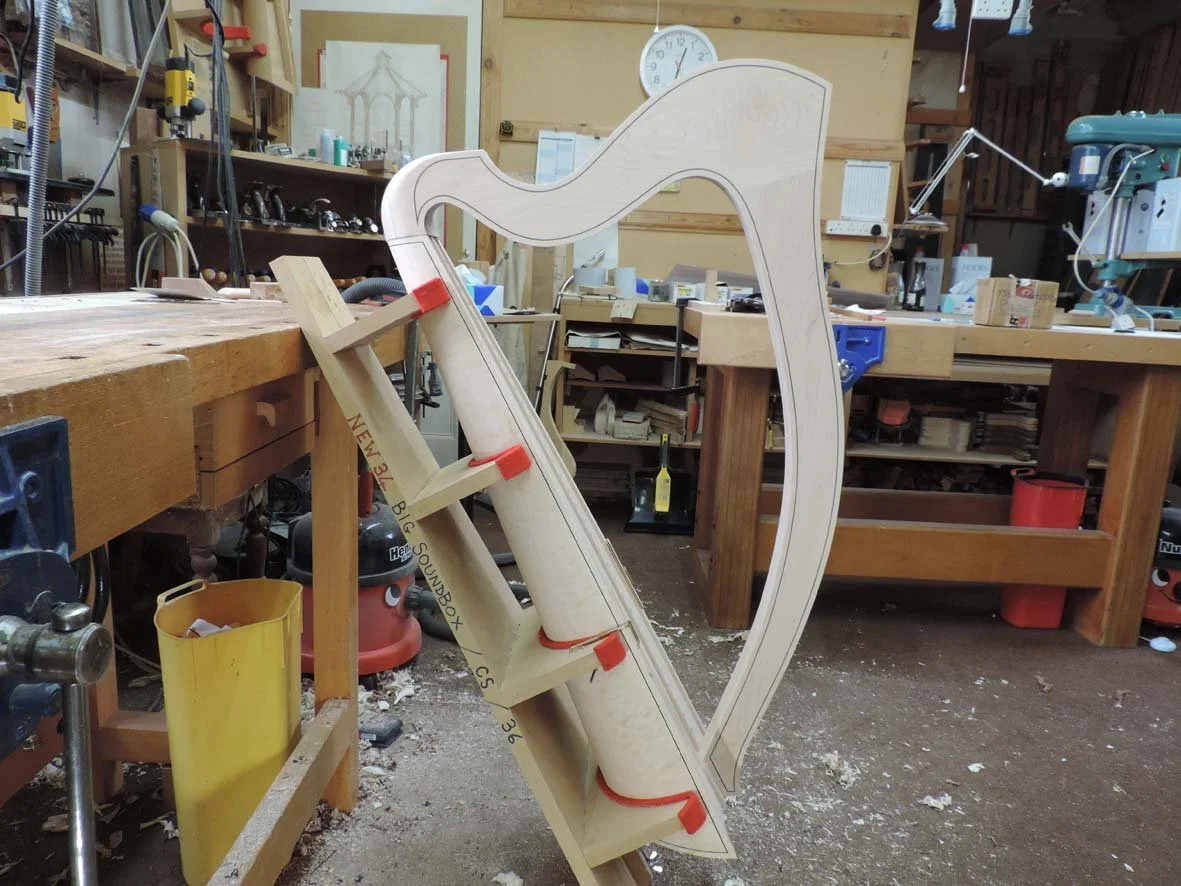
Curved Laminating: Gluing & forming curved laminations from Aircraft Birch Plywood and Decorative Veneers for the harp soundbox.
Vacuum Forming: Laminating & Forming curved components with Vacuum Bag Laminating.
Masking: Choosing the ideal Masking Tapes and techniques for masking off visable glue lines
-
Focuses on the creation & use of essential jigs, moulds & templates
Templates: Creating & using Clear Acrylic Profile Templates to standardise and mark out essential harp components.
Vacuum Templates: Creating & using Vacuum Routing Templates to produce batches of precision harp components.
Moulds: Creating & using Moulds to produce curved harp soundboxes and internal soundbox frameworks.
Jigs: Creating & using a great variety of Jigs to assist with precise assembling, gluing, routing, planing and drilling.
Tapered Thicknessing Blocks: Creating & using Tapered Machine Thicknessing Blocks to create tapered string bars & soundbox mouldings.
-
Focuses on precise measuring and marking out
Precision Rulers & Tape Rules: Accurate measuring and laying out with rulers & tape rules.
Engineering Squares & Straight Edges: Checking and Laying Out with Engineering Squares and Precision Straight Edges.
Adjustable Bevels and Combination Squares : Marking out and creating angles with Adjustable Bevels & Combination Sets.
Digital Calipers: Checking & achieving accurate dimensions with Digital Calipers.
Marking Gauges: Using the traditional Marking Gauge to set out thicknesses, lines & inlay lines.
Scribes & Punches: Marking out with Propelling Pencils, Pens, Points, Scribes, Punches and Automatic Centre Punches.
-
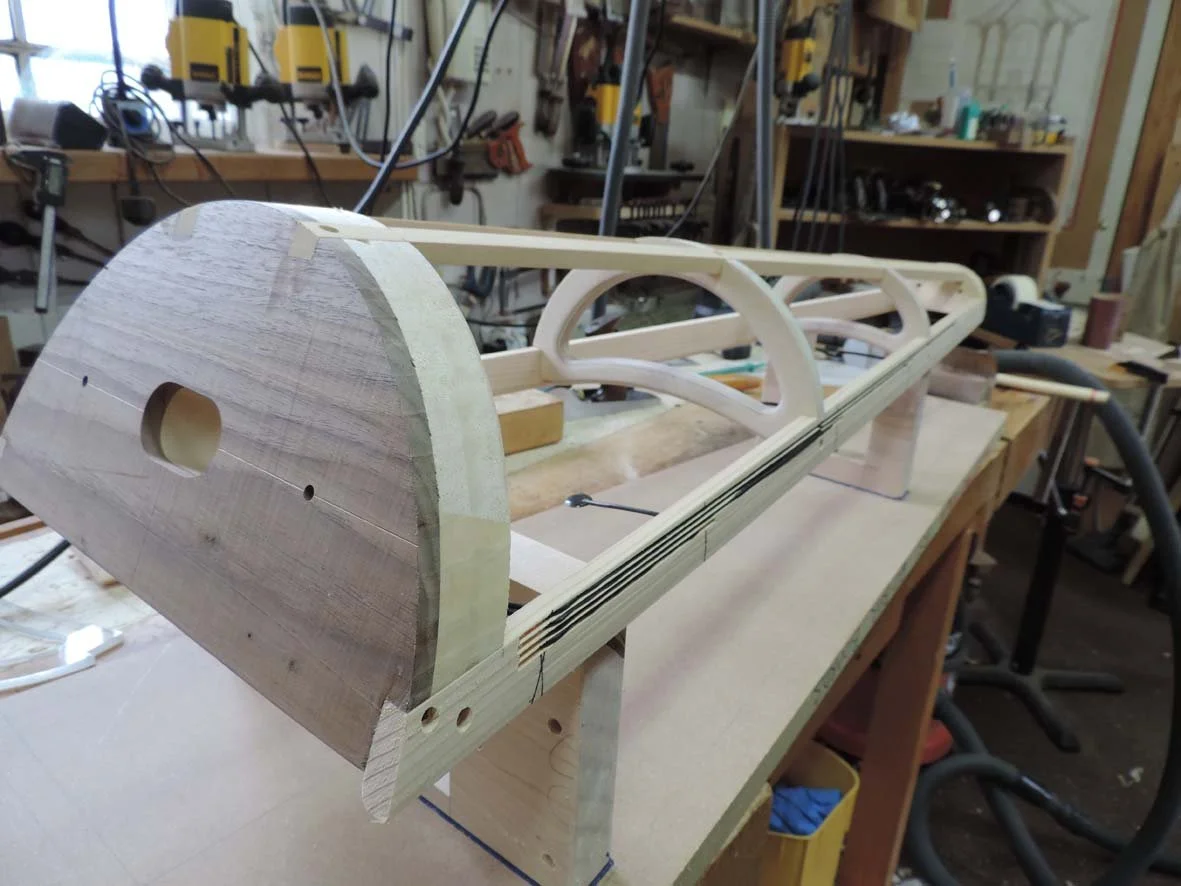
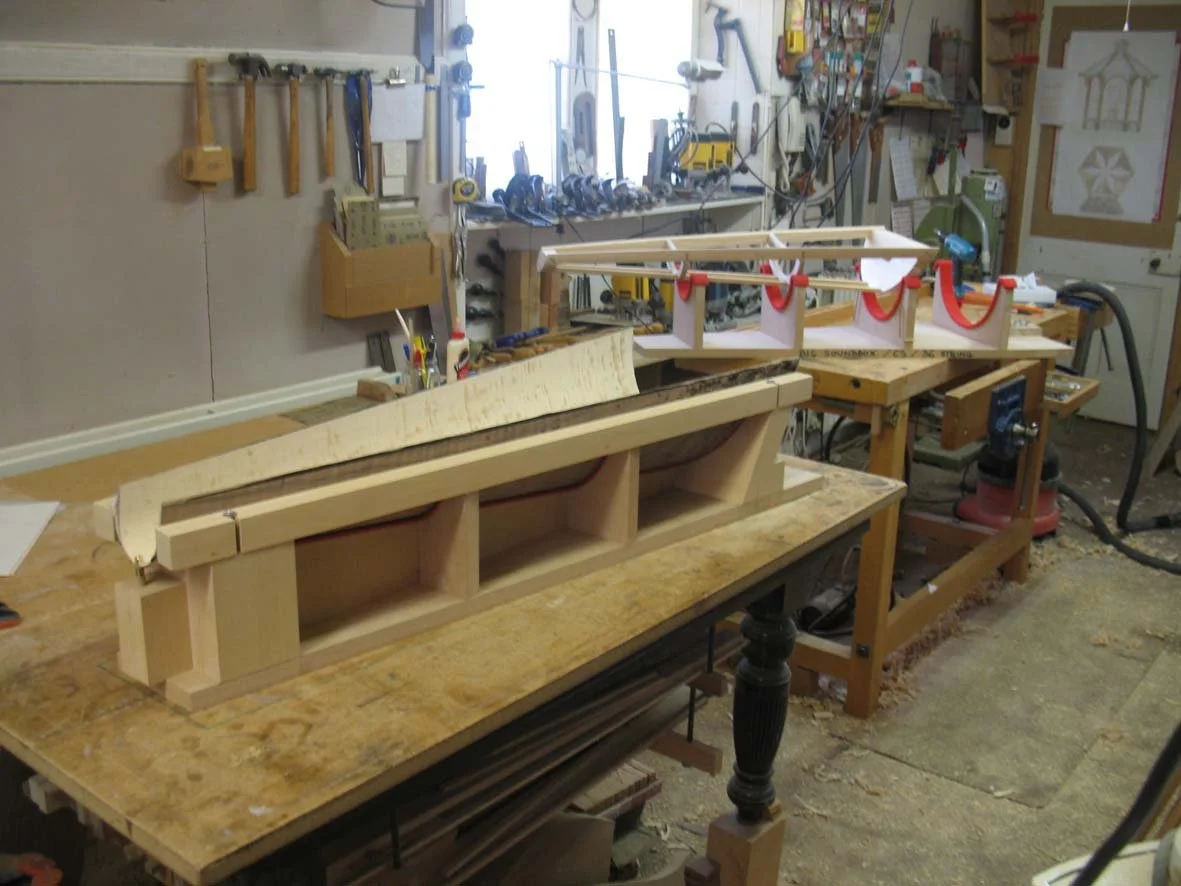
Focuses on the light-weight internal framework and laminated outer shell of the soundbox
Light-Weight Bass Blocks: Combining Balsa, Jelutong and Walnut to create light-weight bass blocks.
Internal Framework: Creating the internal soundbox framework, with spruce side-rails and birch ribs.
Piezo Wiring: Routing wiring slots into the internal soundbox framework for concealed Piezo Pickups.
Laminated Outer Shell: Laminating Aircraft Birch Ply and Book-Matched Walnut Veneers to create the outer shell.
Soundholes: Cutting Soundholes through the laminated outer shell.
Soundbox Mouldings: Add final mouldings after completed soundboard is fitted
Feet: Make & add feet to completed soundbox along with brass harp stand fittings
-
Focuses on the most important element of the harp; the soundboard
Spruce Tone Wood: Sourcing & selecting Sitka Spruce Tone Wood for harp soundboards.
Cutting & Storing Spruce: Creating Quater-Sawn Spruce Tone Wood Boards.
Matching & Jointing Soundboards: Creating matching sets of tone wood pieces, and jointing to create soundboards.
Soundboard Tapering: Vertical tapering of the soundboard form bottom to top.
Hand Thicknessing: Horizontal hand thicknessing of the soundboard from centre to edge.
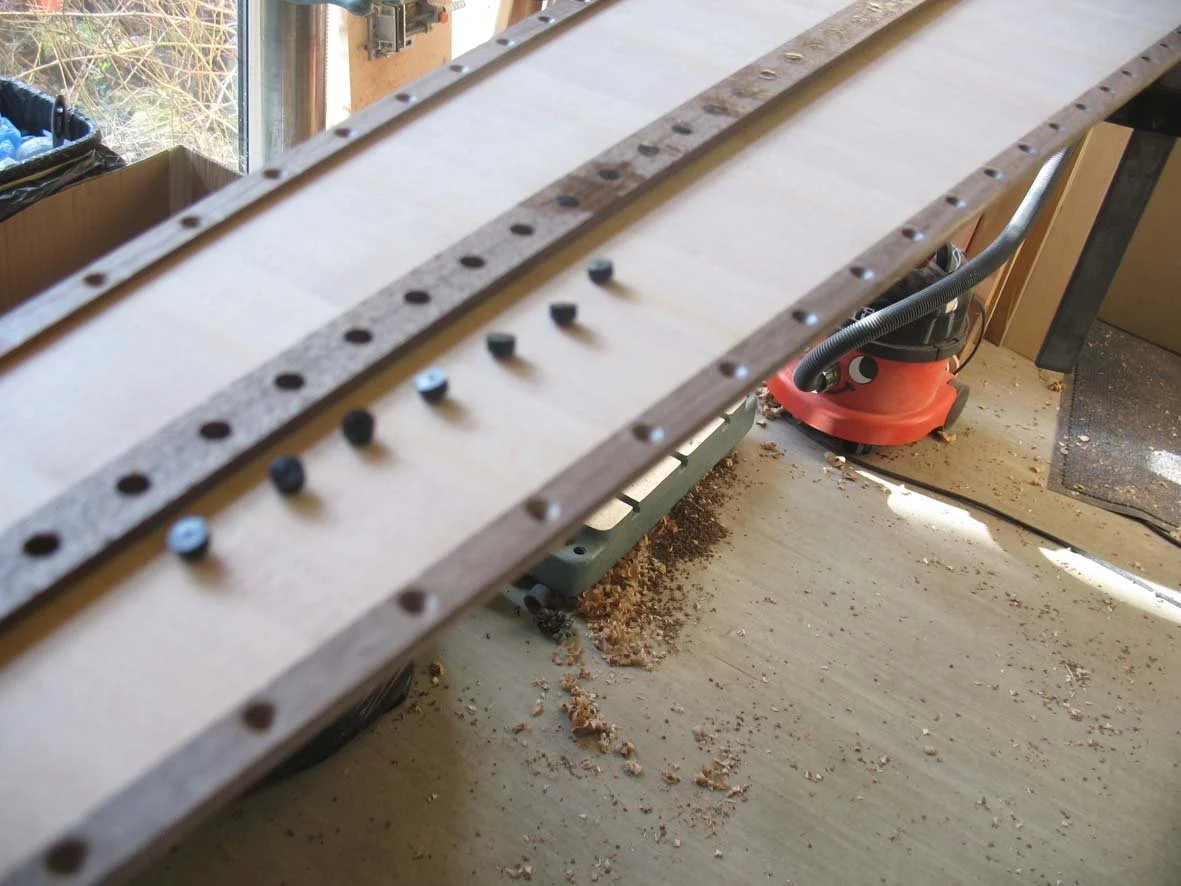
String Bars & Mouldings: Making & adding the String Bars & Screw Strips.
String Bushes: Making & inserting the Black String Bushes & Brass Base Wire Bushes.
Fitting & Gluing & Screwing: Fitting, gluing & screwing the completed soundboard into the harp soundbox.
Peizo Pickups: Adding Piezo Pickups to the soundbox & soundboard to create a high quality electro-acoustic harp.
-
Focuses on cutting, jointing and laminating timber harp frames
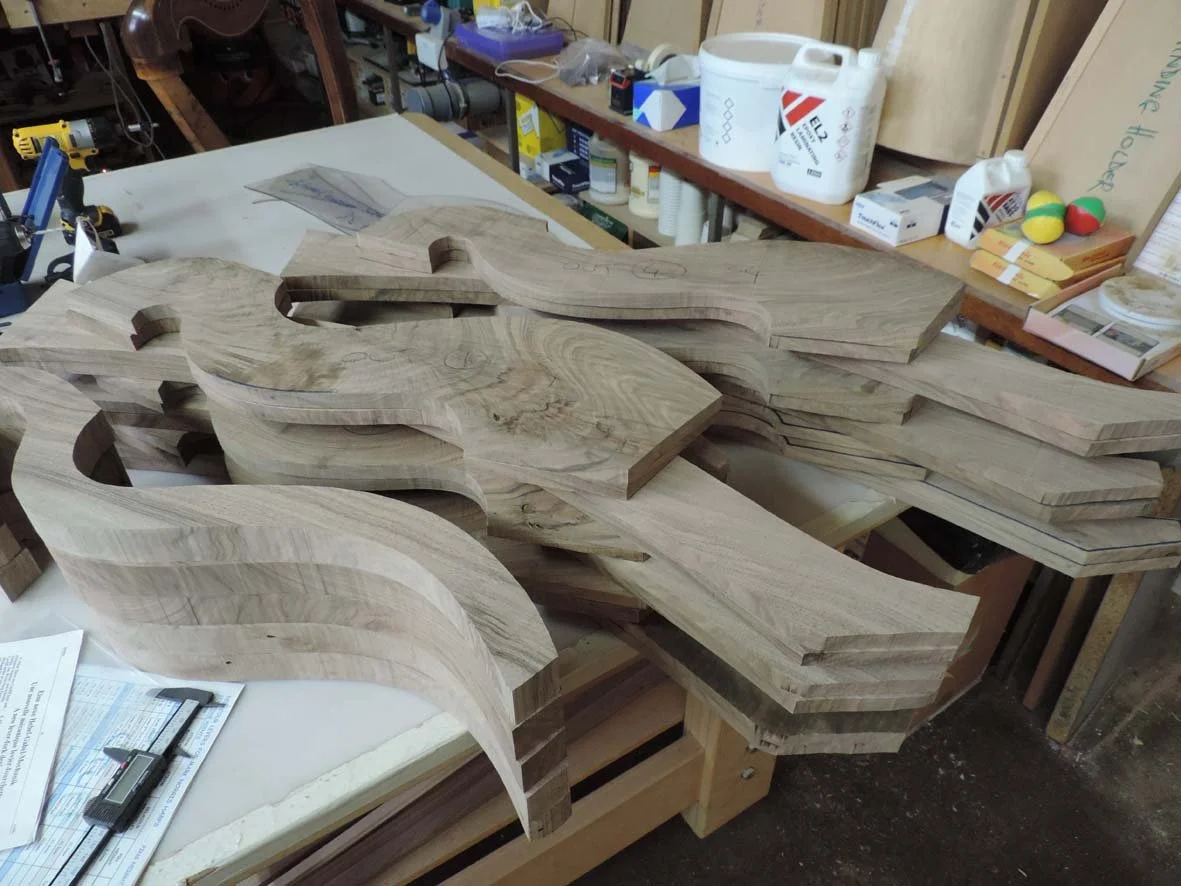
Selecting Timber: Sourcing & selecting the ideal Timber for harp frames.
Cutting Frame Cores & Covers: Selecting, marking out & cutting the ideal timber for internal & external frame components.
Jointing Frame Cores: Creating the internal frame cores.
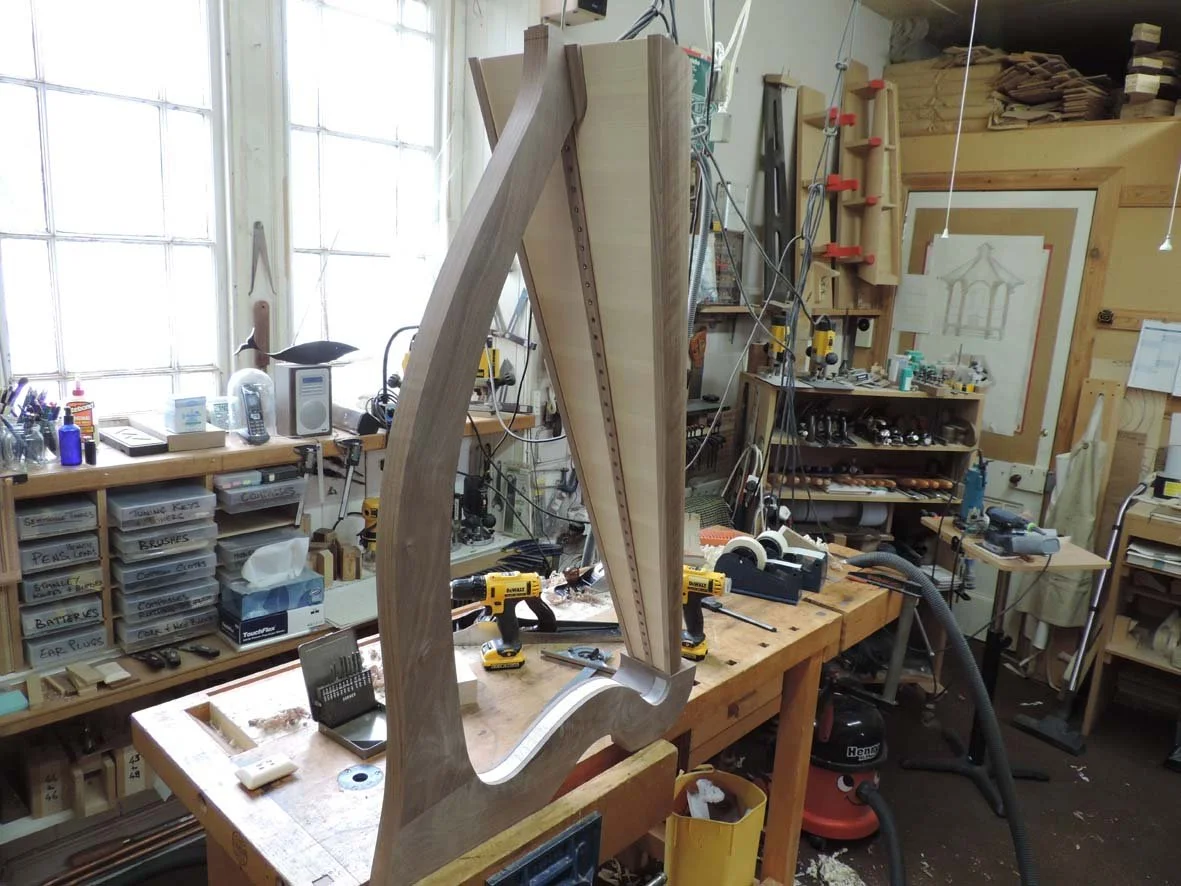
Frame Covers: Creating & laminating the external harp frame covers to the internal frame cores.
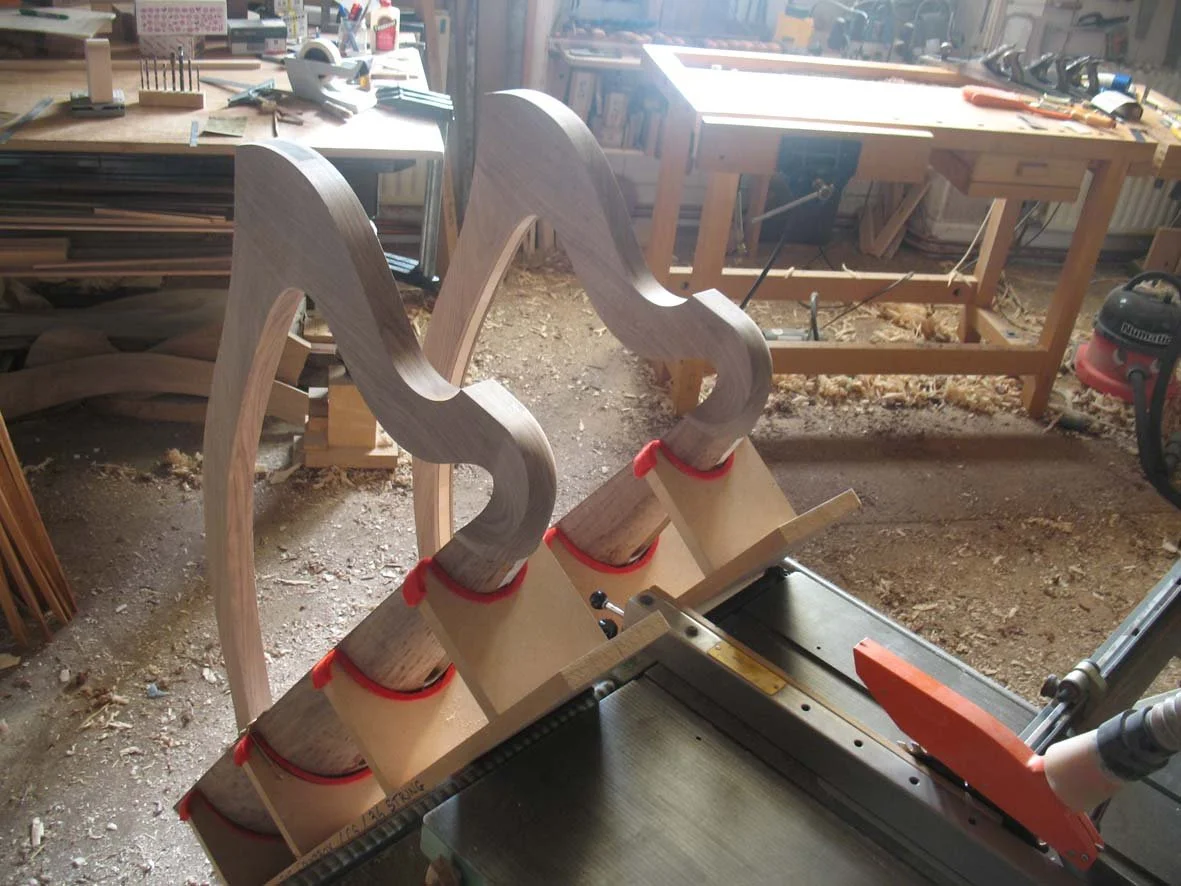
Shoulders: Laminating and adding the harp shoulder blocks.
Frame to Soundbox: Fitting the harp Frame to the completed harp soundbox.
Drilling & Reaming: Marking out, drilling & reaming holes for bridge pins and tuning pegs.
-
Focuses on the finer details of carving, inlaying & decorating harps
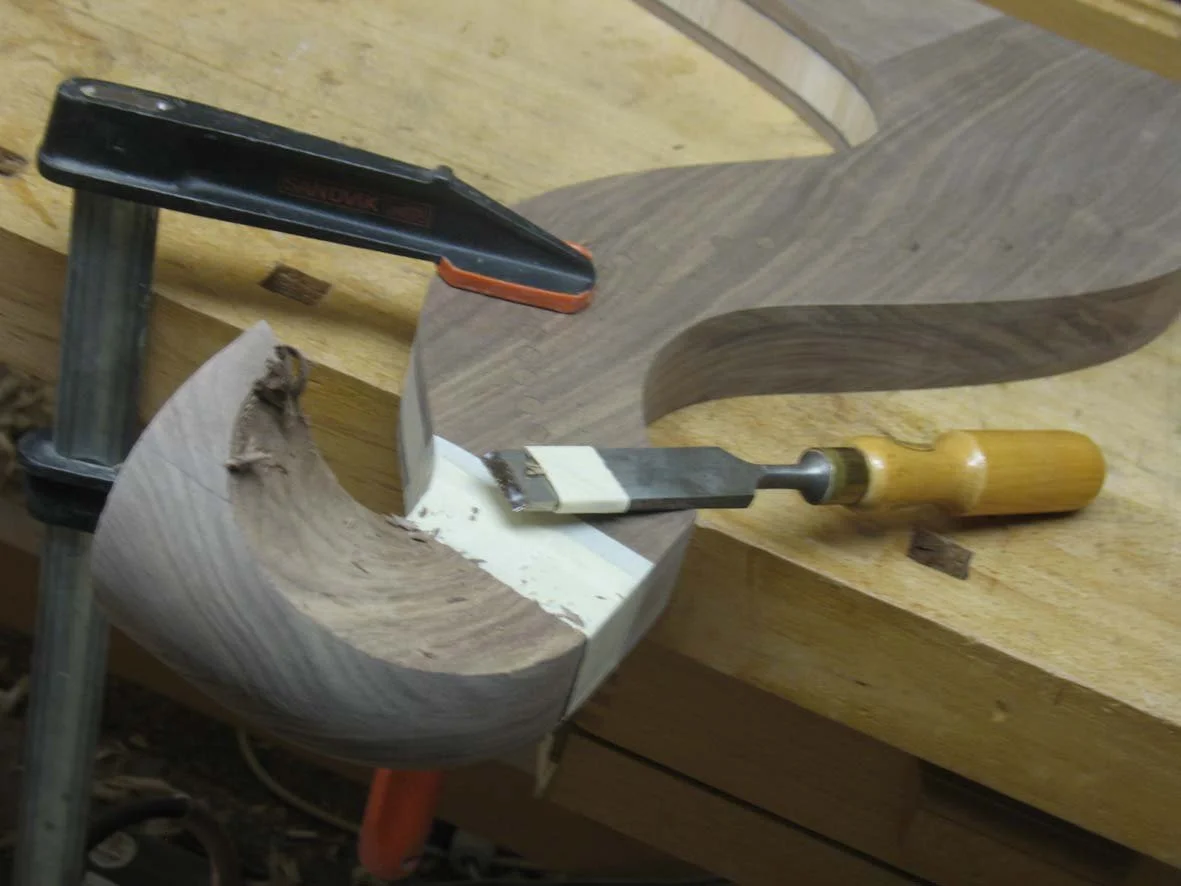
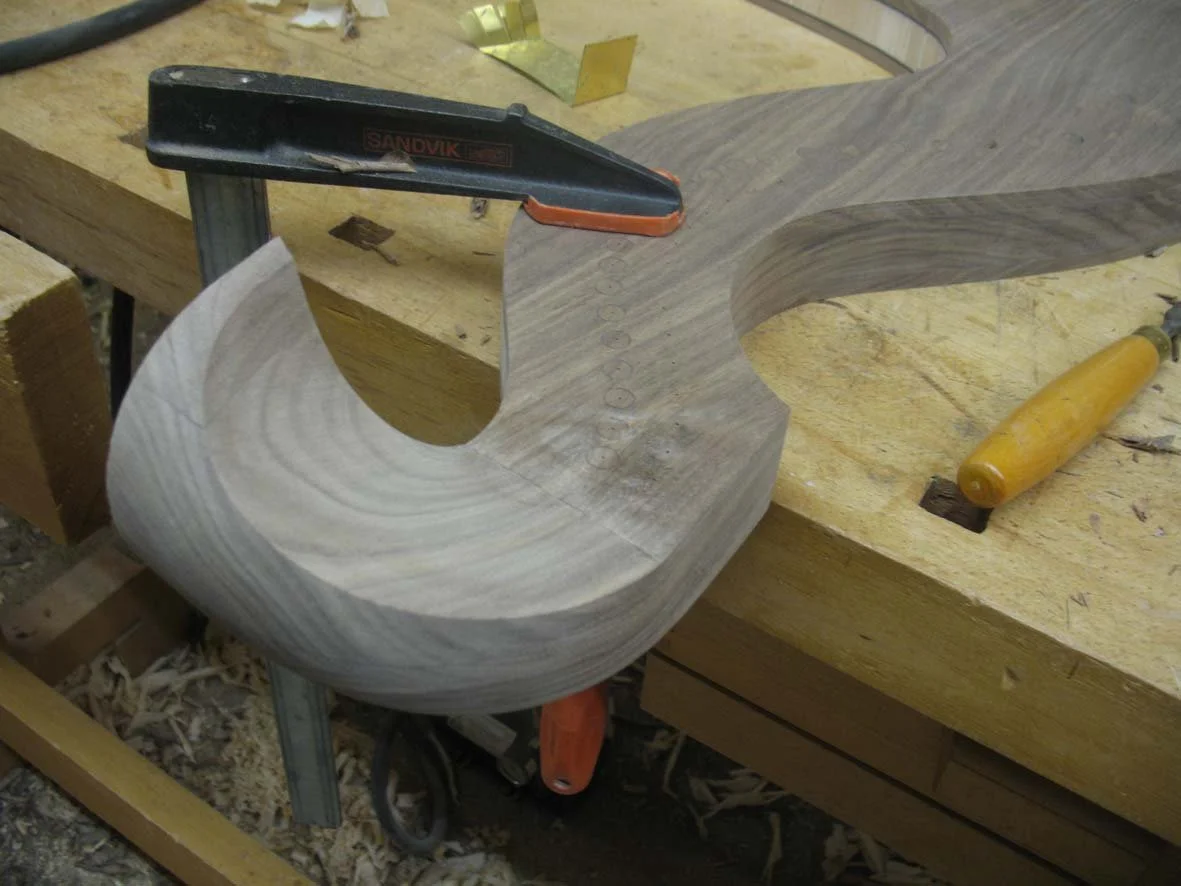
Carving Shoulders: Carving the external & internal curved shapes of the harp shoulder.
Inlaying: Adding decorative inlay lines using both electric routers and traditional hand tools.
Soundbox Inlays: Adding decorative inlay lines to the curved & veneered harp soundbox using routers and traditional hand tools.
Mouldings: Techniques for adding the final decorative mouldings around the harp frame and feet.
-
Focuses on the finer details of final scraping, sanding, oiling, varnishing & finishing harps
Cabinet Scrapers: Using the traditional cabinet scraper prior to final sanding & finishing of timber.
Sanding: Choosing abrasives and using orbital sanders and hand-sanding blocks to prepare timber for final varnishing & finishing.
Brush Varnishing: Choosing flexible soundboard varnish and ideal brushes for hand finishing of harp soundboards.
Oiling: Oiling techniques to enhance the colour & grain of timber prior to final spraying & finishing.
Masking Off: Understanding low-tack masking tapes and masking off areas before spray finishing.
Spray Booth & Spray Guns: Understanding & maintaining spray booths and spray guns for safe & efficient spray finishing.
Spray Finishing: Understanding & mastering spray finishing techniques with base coats & top coats of cellulose and other lacquers.
Grain Fillers: Understanding the use of grain fillers within the finishing processes.
De-Nibbing & Cutting Down Varnish & Lacquer: Selecting the ideal abrasives and sanding techniques for de-nibbing & cutting down coats of varnish & lacquer.
Final Finishing: Using fine abrasive papers and 0000 grade wire wool to achieve the final finish on a harp.
-
Focuses on the final stringing, tuning & regulating of the harp
String Choice: Understanding Natural Gut or Fluorocarbon or Nylon Strings and the effect of different String Gauges.
Harp Stringing: Knot Tying, Stringing, Setting Tapered Tuning Pegs and Tuning the harp.
Semitone Levers: Choosing, fitting, regulating & tuning semitone levers.
Serial Numbers: Adding Serial Numbers
Harp Stands: Fitting Harp Stands
-
Focuses on repairing and servicing older harps
Insurance: Assessing serious harp repairs, costing and checking on insurance status.
Strings: Checking harp string type and string gauge if matching strings may need replaced.
Re-Stringing: Undertaking a complete re-string of an older harp.
Semitone Levers: Checking lever types in case spares or replacements are required.
Finishing: Fixing Bumps. Scratches and Re-Finishing with matching varnish.
Servicing: Undertaking a general service of a harp with re-regulation & tuning of semitone levers.
Valuation: Valuing a harp for insurance, and valuing a harp for second-hand sale.

Optional Fourth Year
An optional fourth year will be open to all interested students who wish to specialise or develop their design & making skills further.
A student may, for example, wish to work with more modern materials such as carbon fibre and titanium for light weight harps … or develop more decorative harps with additional inlays or hand-cut/laser-cut veneer work … or may wish to design and develop their own model of harp ready for production.